
TWM1 FAQ: Server Host Setup
I have been getting a lot of requests for a tutorial on setting up your server to give you all access developer when you join, so, Here you Go:
Step 1: Download TWM 3.0 From Here
Step 2: Move the CCM folder from the Zip into Your Tribes2 GameData Folder, If you have a previous version of TWM, delete it.
Step 3: Run the Dedicated TWM Server, Wait for it to finish loading, this will generate the server prefs file and all needed folders, as well as run the auto update
Step 4: Join the server. Once in game, type ListGUIDs() in the SERVER Console. Find the GUID that matches your name, and write it down, Then Close the server.
These next steps you can follow the pictures or the text.
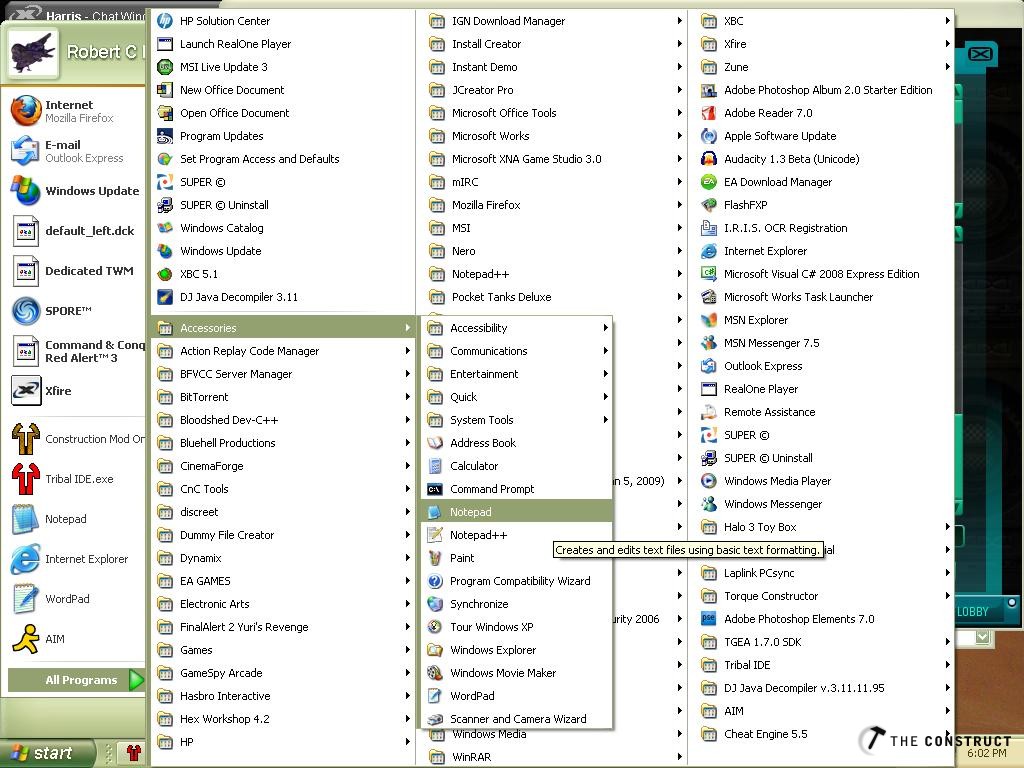
Step 5: Open Notepad.
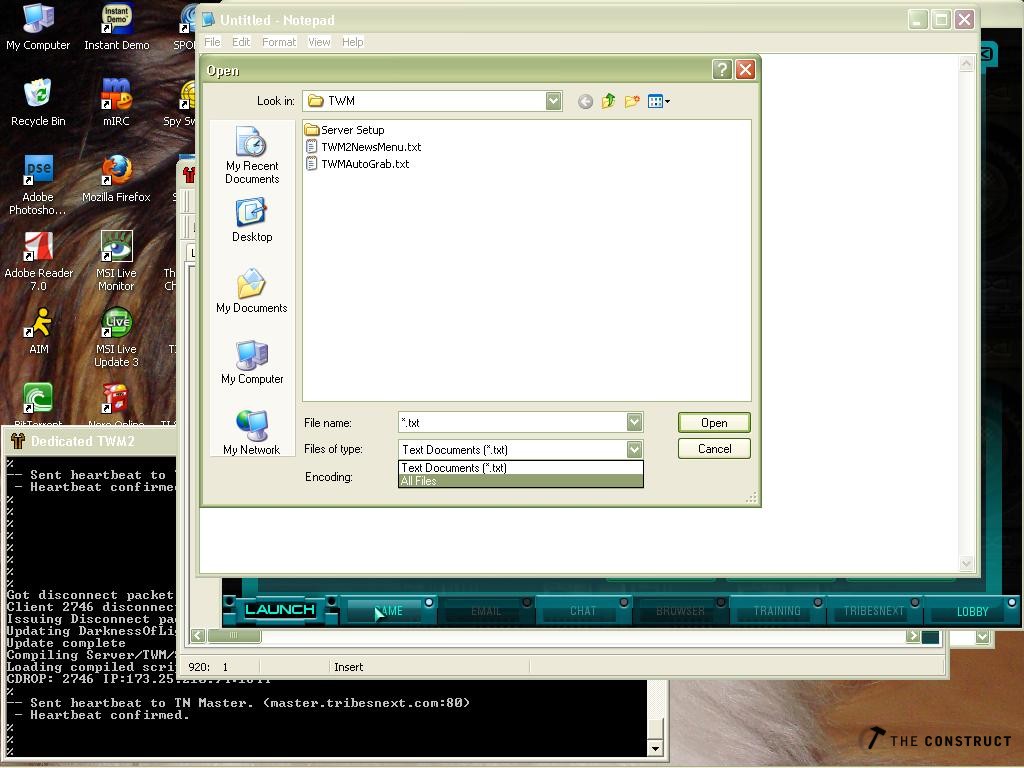
Step 6: Click File, Then Open. Set the Read Files Of Type to All Files, this will allow you to see the TWM Config File.
Step 7: Open the TWM.MainConfig.cs File in NotePad (C:/Dynamix/Tribes2/GameData/CCM/TWM.MainConfig.cs)
Step 8: Replace the GUID in $Host::ServerHostGUID = "2000343"; with the GUID number you wrote down earlier
Step 9: Save The File
Step 10: Run the server, and enjoy!
I hope this sorts out some server issues.
Step 1: Download TWM 3.0 From Here
Step 2: Move the CCM folder from the Zip into Your Tribes2 GameData Folder, If you have a previous version of TWM, delete it.
Step 3: Run the Dedicated TWM Server, Wait for it to finish loading, this will generate the server prefs file and all needed folders, as well as run the auto update
Step 4: Join the server. Once in game, type ListGUIDs() in the SERVER Console. Find the GUID that matches your name, and write it down, Then Close the server.
These next steps you can follow the pictures or the text.
Step 5: Open Notepad.
Step 6: Click File, Then Open. Set the Read Files Of Type to All Files, this will allow you to see the TWM Config File.
Step 7: Open the TWM.MainConfig.cs File in NotePad (C:/Dynamix/Tribes2/GameData/CCM/TWM.MainConfig.cs)
Step 8: Replace the GUID in $Host::ServerHostGUID = "2000343"; with the GUID number you wrote down earlier
Step 9: Save The File
Step 10: Run the server, and enjoy!
I hope this sorts out some server issues.


This discussion has been closed.
Comments
http://dl.rawr32.net/etc/Tribal_IDE.zip
Also, your avatar fails.